For 3D printing, a file must be compatible with 3D printers. The most common is the STL file format. Read through to find different ways to convert almost any 2D image to STL!
It is simpler than you think to convert a picture to the STL file format. An important skill for those interested in 3D printing is the ability to convert 2D photos into 3D models, and the STL file format is the most widely used for 3D printing.
There are many different applications for converting a 2D image into a 3D one, ranging from providing tactile representations for those with visual impairments to providing reference materials for persons who participate in cosplay.
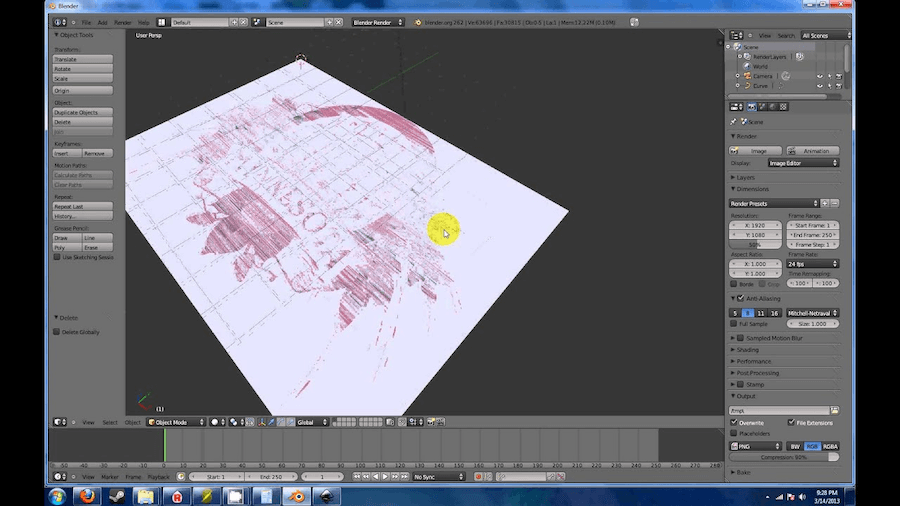
There are primarily three methods for the same – using a picture or image to create a 3D item, extruding a flat object upwards to be 3D, or just transferring a file from one format to another.
However, the most appropriate technique for a given situation is determined by the desired final result.
Even if it is true that 3D models may be generated from flat photographs, you won’t be able to obtain comprehensive and detailed 3D models without using specialized tools and file formats that include a greater amount of information.
Instead, the approaches in this article are better suited to giving two-dimensional flat designs a three-dimensional, although still more or less flat, physical shape. Therefore, you won’t instantly acquire a bust of the Mona Lisa by utilizing an image unless you flex your artistic muscles a little.
However, this does not imply that the strategies discussed below are without value!
Ways to convert a 2D image into an STL file
1. Change the image format
Simple and uncomplicated! Converting files from one format to another isn’t always as easy as it seems. When you search online, one of the first things that will show up for you is the suggestion to utilize a file converter so that your file automatically changes the format.
The performance of these converters is excellent for converting one 3D file into another 3D one. The fact that the object in the file already exists in 3D means that the only thing the converter has to do is to make it readable for another software.
However, when converting a 2D file to a 3D one, the vast majority of online programs will only convert the file type and not the contents of the file.
If you try to convert a PNG file of a logo to STL format, the outcome will be an extruded square, but there will be no detail to demonstrate what the picture is supposed to be.
However, if you are willing to take a risk, there are a few solutions for free file conversion. It is as easy as dragging the file into the app, hitting the convert button, and downloading the output, so giving it a try won’t take more than a few seconds.
On apps such as Microsoft Paint 3D, you can convert a 2D image to 3D by clicking on the convert to 3D option.
2. Conversion of Images Online
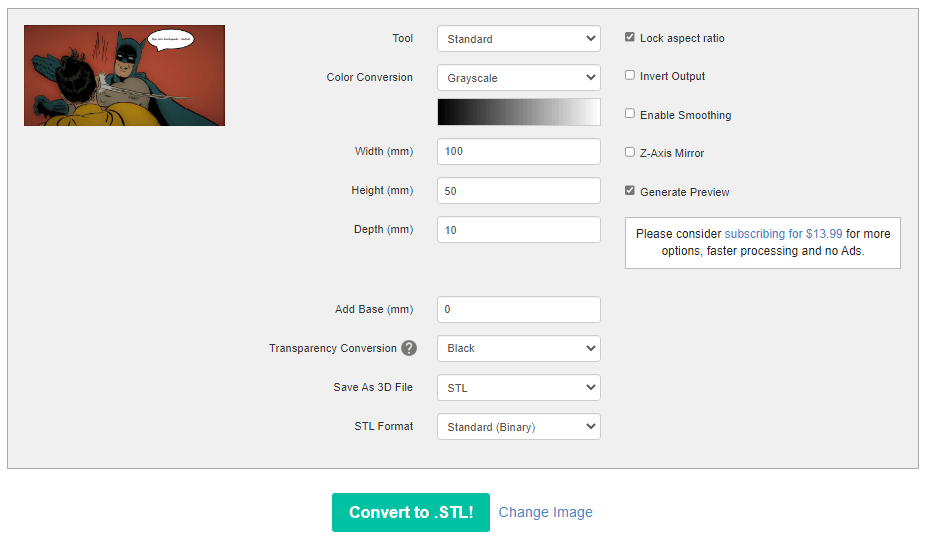
To convert images using an online service, the user must first upload an image into a browser-based platform. Once the image has been uploaded, the user must then click the “convert” button, following which they may modify certain aspects of the image as needed.
Following that, users can morph the picture into various specified shapes, such as cones and cylinders. It is essential to be aware that converting files to a different format online is not the same as converting images online.
3. Use 3D builder
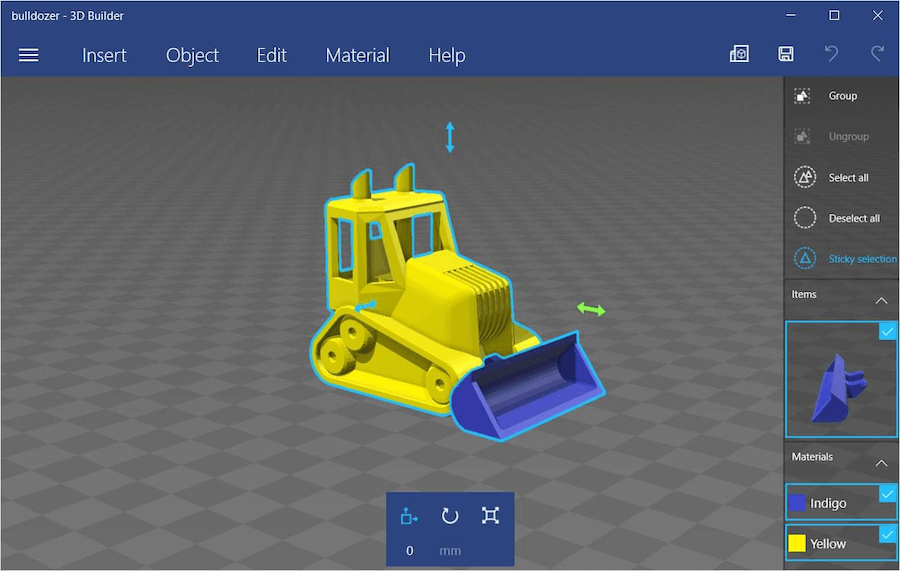
The 3D Builder tool, which comes pre-installed on most Windows PCs, is another choice that is arguably the simplest to convert image to 3D model. There is a feature that allows you to effortlessly convert a picture into an STL or OBJ file. (This will only work on Windows 10, not Mac.)
Here are the steps:
- Download 3D Builder from the Microsoft Store if you don’t already have it.
- After you download and install the software, drag your picture onto the workspace or choose “Add” from the “Insert” menu.
- The Levels and Smooth sliders should be adjusted until your picture is sharp and clear. You may also choose between the procedures “Contour,” “Height Map,” “Edge,” and “Stamp” to get different results.
- When you are satisfied with the model, select it and click the “Import Image” button. The Scale tool at the bottom of the workspace allows you to modify the scale.
- You can lock the proportions while scaling by clicking the lock in the same menu.
4. Reconstruction Using AI
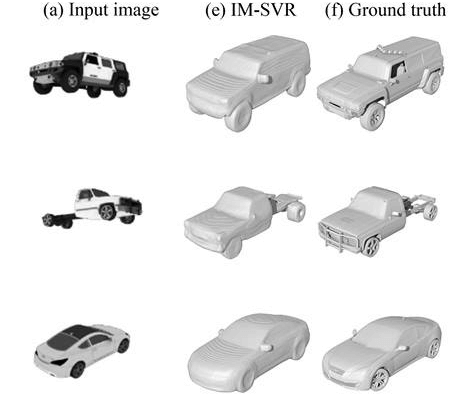
There is also the possibility of reconstruction with the use of AI. The only thing that is necessary to use it is to drag and drop a photo into the application, and after that, you have to wait for the 3D model to develop. This makes it very easy to use.
This method uses deep learning strategies, but let’s not delve into the details now! It is essential to remember that AI reconstruction tools often rely on colors and textures (contained in an OBJ file) and that converting to STL would result in the loss of a significant portion of the data that makes up these features.
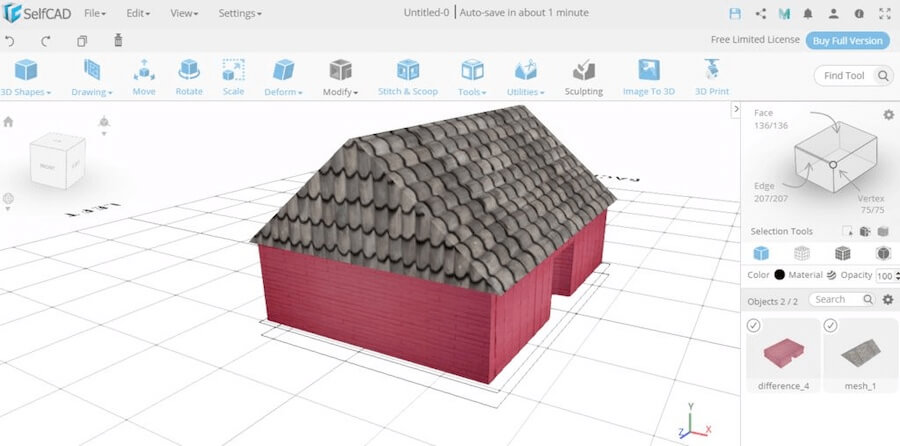
5. Using a Modeling Software
Utilizing a modeling program like SelfCAD or Blender is yet another method to transform a 2D picture into a 3D format; however, this method requires more effort from the user.
Using this kind of software is analogous to working with clay. You can create visuals from scratch. However, such software can read 2D file formats, which may serve as a basis for the completed 3D model. One example of such software is SelfCAD, which has free and paid versions.
It is straightforward to use and has an intuitive graphical user interface. SelfCAD is a wonderful program to start with if you are unsure about whether or not you want to go into 3D modeling just yet.
6. Elevate or Extrude an Image
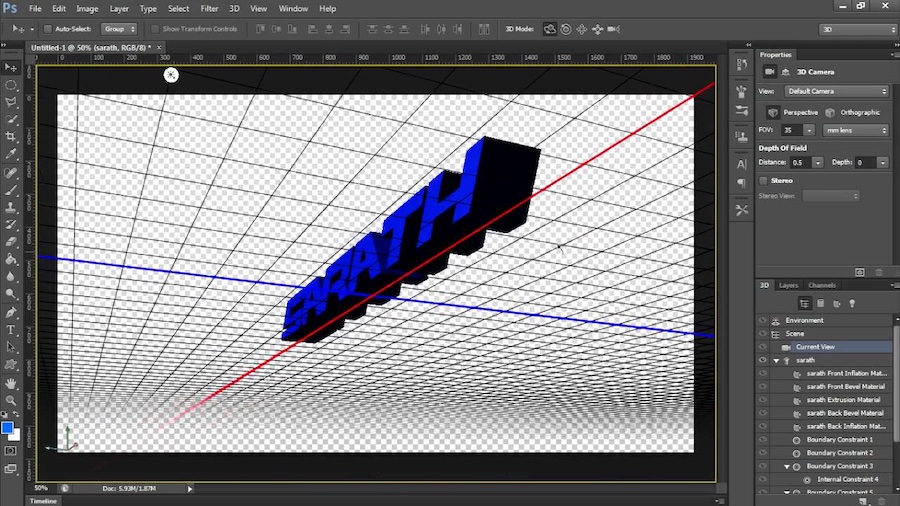
Extruding a flat image into three dimensions is the method that results in the most straightforward creation of a three-dimensional item. Extrusion is yet another method for converting two-dimensional pictures into three-dimensional objects.
To create a three-dimensional object, you first need to create an outline of the features and then extrude those outlines to different heights.
7. Hire a 3D Designer
You can always outsource the work to an experienced designer. This designer can use any tool at their disposal to either convert any 2D Image you have or they can create a 3D model using your chosen 2D image as a reference.
8. Make a lithophane out of it
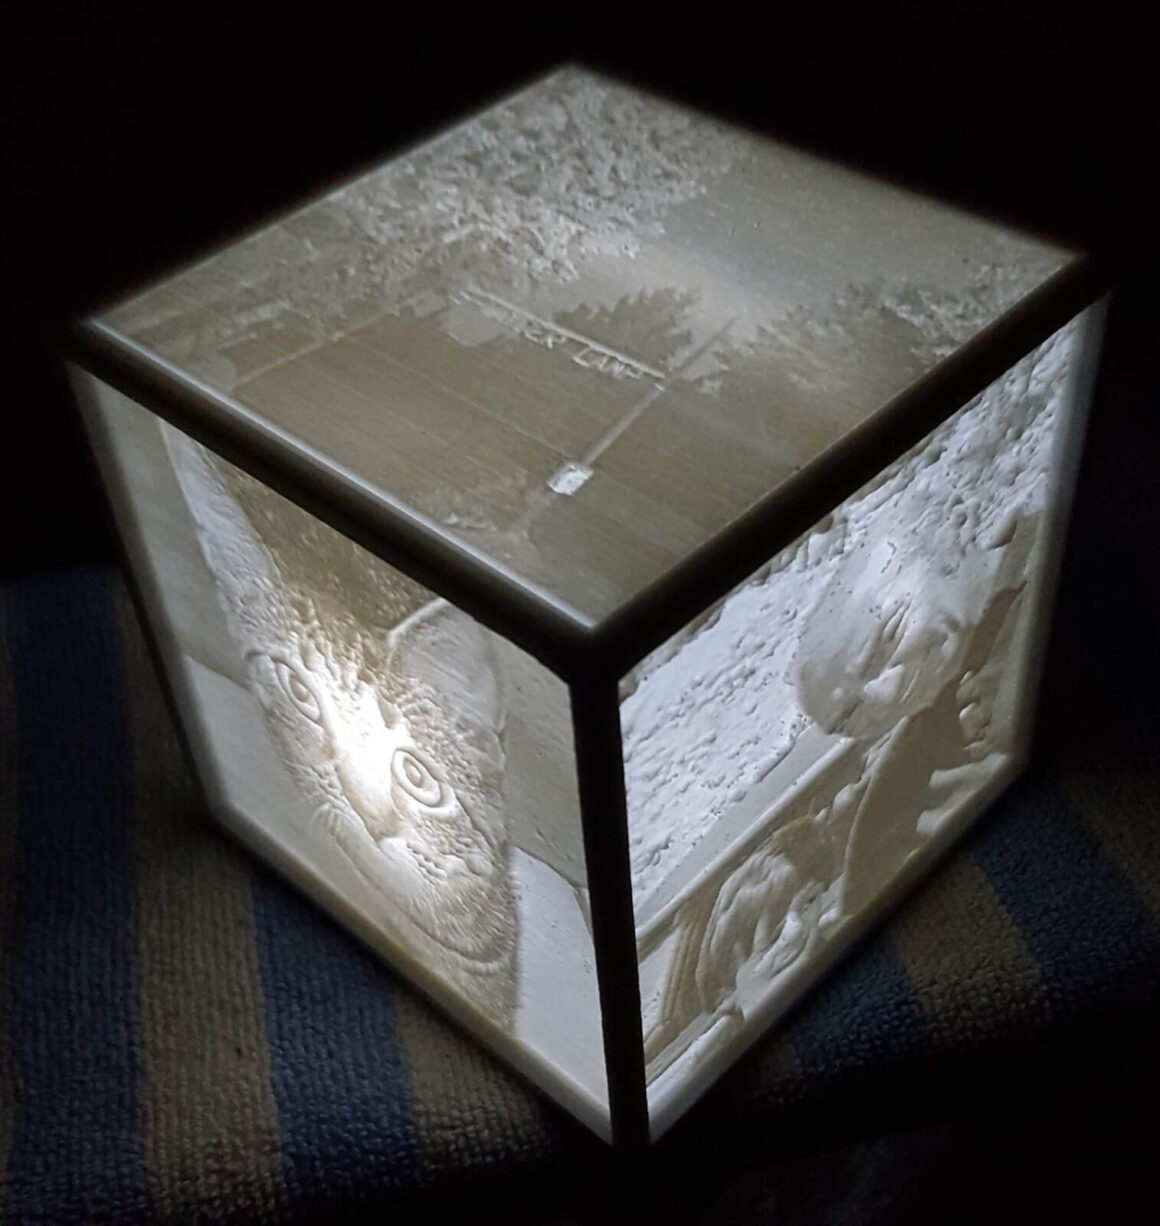
Making a photograph seem three-dimensional is possible in several ways, one of which is using lithophane. One kind of lithophane is a three-dimensional apparatus that, by adjusting the layer thicknesses, may regulate the amount of light allowed to pass through it.
These subtleties create the dark and bright areas of an image, which give the appearance of being “embedded.” One of the many diverse tactics when constructing lithophanes is to use design software or internet resources.


